How to Paint a Room
Get ready to transform the interiors of your home! If your walls are in desperate need of a lick of paint but it’s proving difficult to know where to begin, our step-by-step guide will help get your project completed in no time.
It can be overwhelming choosing a colour for your decorating project. If you are undecided, pick up some colour cards from your local decorator centre or order from your chosen paint manufacturers website and they will usually post out free of charge. Once you have picked up some tester pots, paint your samples on to white paper, sick on the wall with masking tape, then you can move them around your room to see how the lights affects the colour.
How to prep a room for painting
Before you start make sure have the following essentials ready to start your project, these are available instore or online from any decorator centre or paint manufacturer.
- Walls and ceiling paint
- Primer
- Masking tape
- Filler & filler knife
- Paintbrushes
- Rollers & tray
- Sandpaper, various grit
Make sure you remove all valuables and breakables from your room ahead of starting and cover your large furniture and floors with dust sheets. Then you’re ready to go.
How long does it take to paint a room?
This will depend on just how much painting needs to be done. Other factors, such as the weather, i.e. how warm it is, will have some bearing on how long it will take too.
The task of painting a room can range from three quarters of an hour to well over two hours; however, painters will often spend a couple of days painting an average-sized room. This is due to the amount of preparation that needs to be undertaken – and as we shall see, there’s a fair amount of work that needs to be done in order to prep the room beforehand.
What to wear when painting your house
Make sure you are wearing appropriate clothing: wear old clothing, and be sure to don gloves and goggles when handling sugar soap, which is an irritant.
How to paint a wall
Step 1 – Make sure all your surfaces are prepared for the job to give you the best possible finish
Getting a smooth finish is key. Check the surface to make sure that there is no flaking paint, and use multipurpose filler for any cracks and holes. Let it dry before sanding down the surface and sealing it with sealant if necessary. If there are bumps and parts of the surface where the paint is flaking, we advise that you even the surface with a scraper before you start the process of sanding and sealing.
Step 2 – Rub the surface down with sandpaper if the existing coat is satin or gloss paint
Help your paint stick to the wall by creating a ‘key’ on your surface. Gently rub down the surface with a fine sandpaper until it feels a little coarse. Give everywhere a vacuum to remove as much dust as possible.
Step 3 – Clean your wall thoroughly to remove any dirt or dust.
Dilute some sugar soap or washing up liquid in a bucket of water – read the instructions on the product for exact measurements. Make sure you are wearing appropriate clothing, including gloves and goggles, as sugar soap can be an irritant.
Using an ordinary household sponge, wipe down all the surfaces you have prepared ready to paint. Make sure you refill your bucket & repeat the process with clean water. Allow it to dry thoroughly.
Step 4 – Use masking tape to cover your switches, skirting boards and sockets
If you are painting your wall a different colour to the ceiling or the adjacent walls, run masking tape along the edges so you get a nice, clean finish.
Step 5 – All that preparation has paid off; you are now ready to paint
If the existing coat that you are painting over is darker in colour, use a primer before you apply your topcoat. We recommend that you use a grey primer, as this will help make it easier to cover.
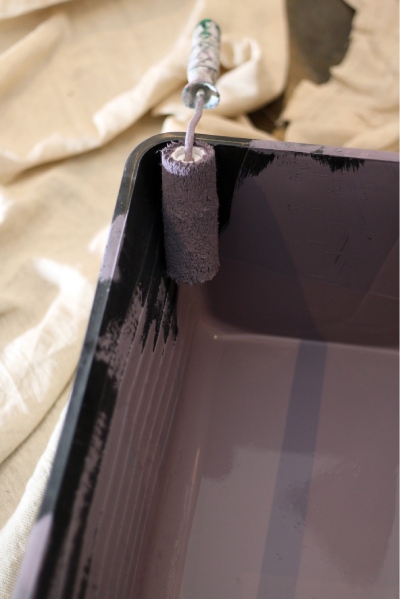
Always make sure you have stirred the paint thoroughly in the tin before pouring in to your paint scuttle, you can do this with an old wooden spoon or similar. Spread the paint evenly across your surface with a roller, using the same diagonal W or M motion. Allow at least 2 hours drying time.
Step 6 – Apply a second coat of your chosen colourful topcoat
We always recommend a minimum of two coats to get the right coverage, but check the manufacturers guidance.
Step 7 – Allow another 2-3 hours of drying time for your second coat
Your paint should be touch dry now so you can slowly and carefully remove your masking tape and tidy away your dust sheets. Clean up your brushes and rollers and you are ready to show off your newly transformed room.
Get in contact with the experts today
If you’re feeling inspired by any of these shades but don’t want the stress of taking on the work yourself, give our team of experts a call or contact us today to get in touch about your next project.